Custom Teak Name Boards -- Characteristics & Costs
Teak is very durable and highly rot-resistant. If you varnish it and stick it outdoors, as with name boards, you're in for a good bit of periodic maintenance. But hey, it's a boat, right?
The material cost for custom teak name boards will depend on the dimensions you specify. CNC set-up and run-time costs will depend on the complexity of your boat lettering requirements. Our minimum charge for this is $75.00
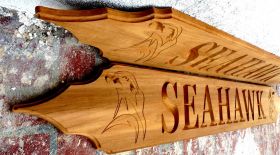
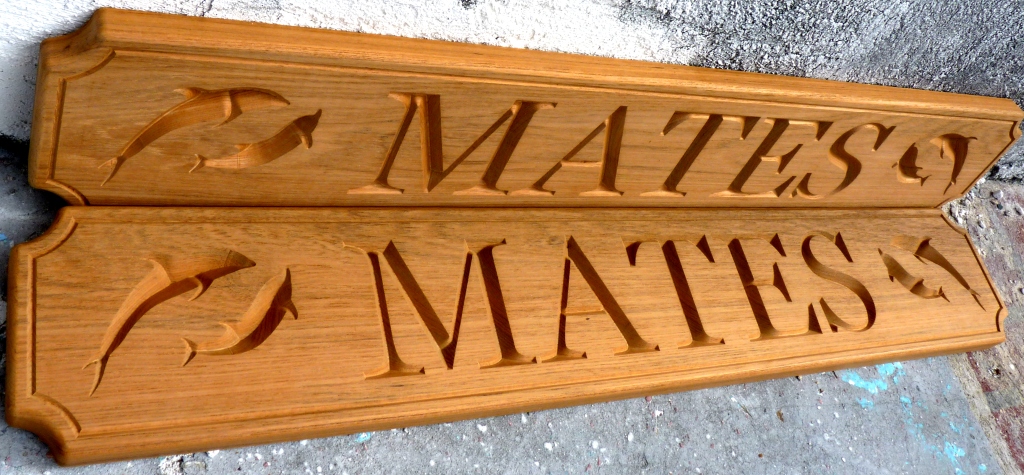
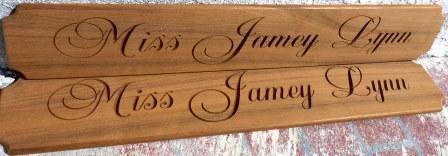
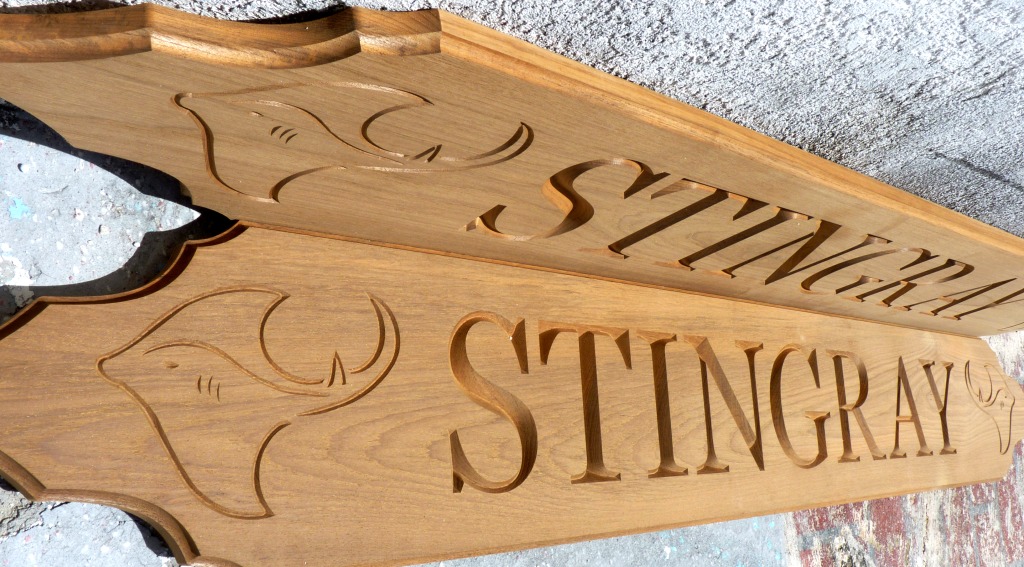
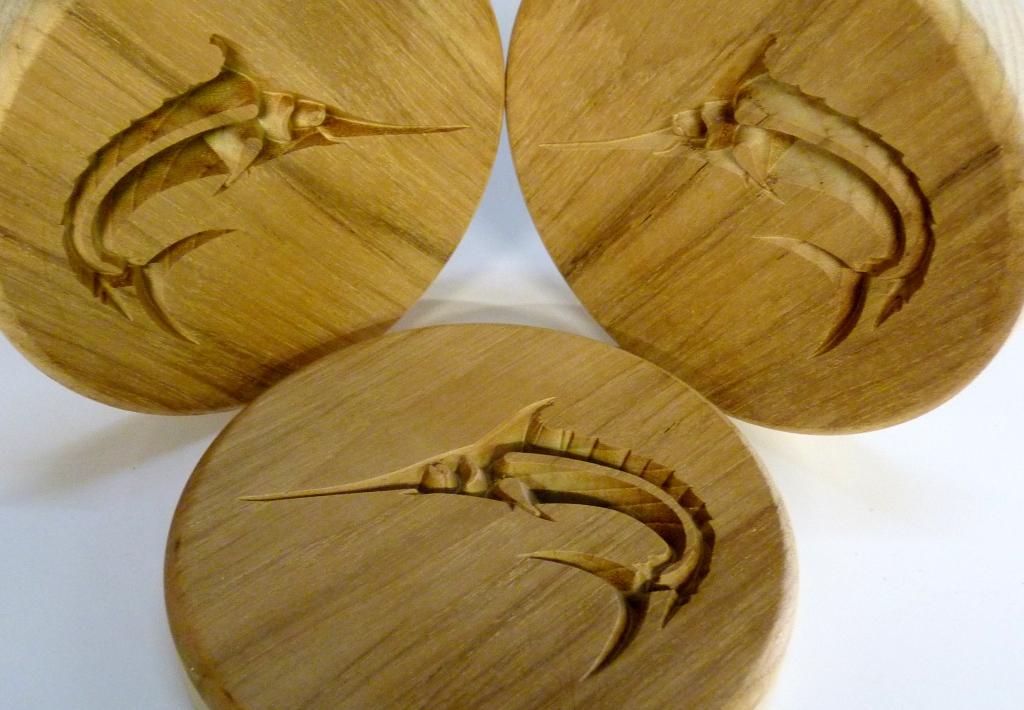
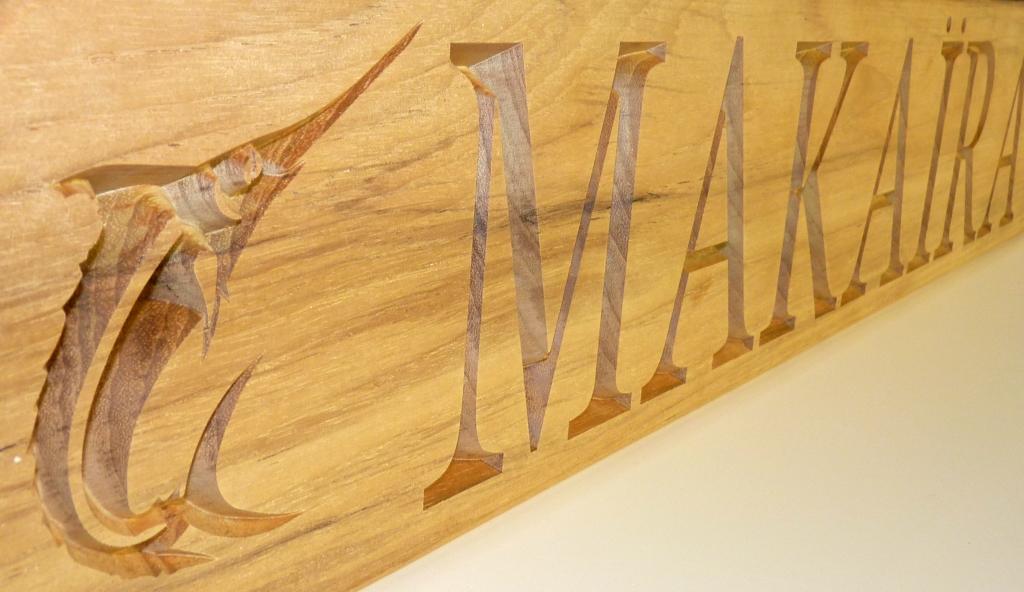
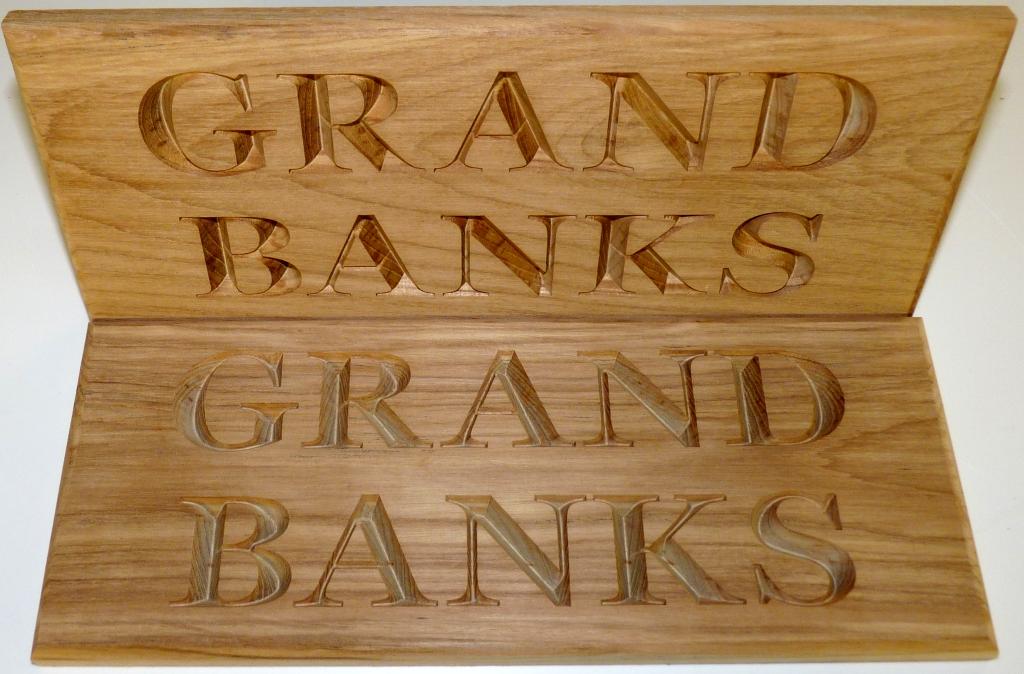
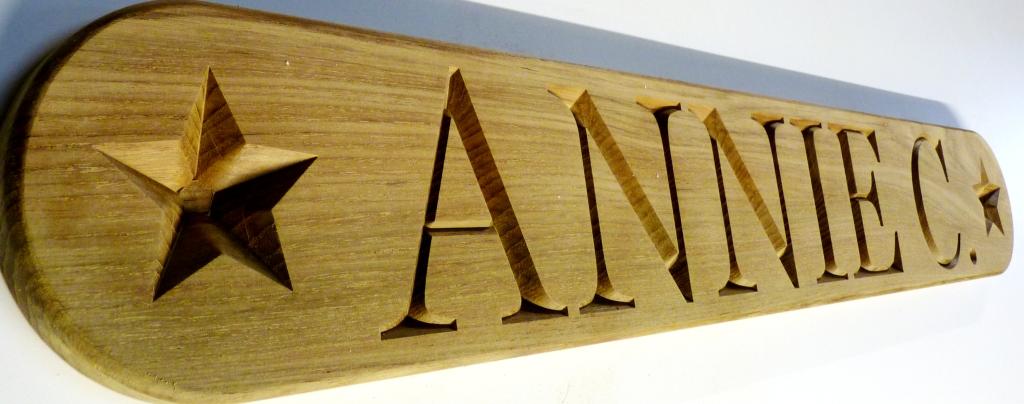
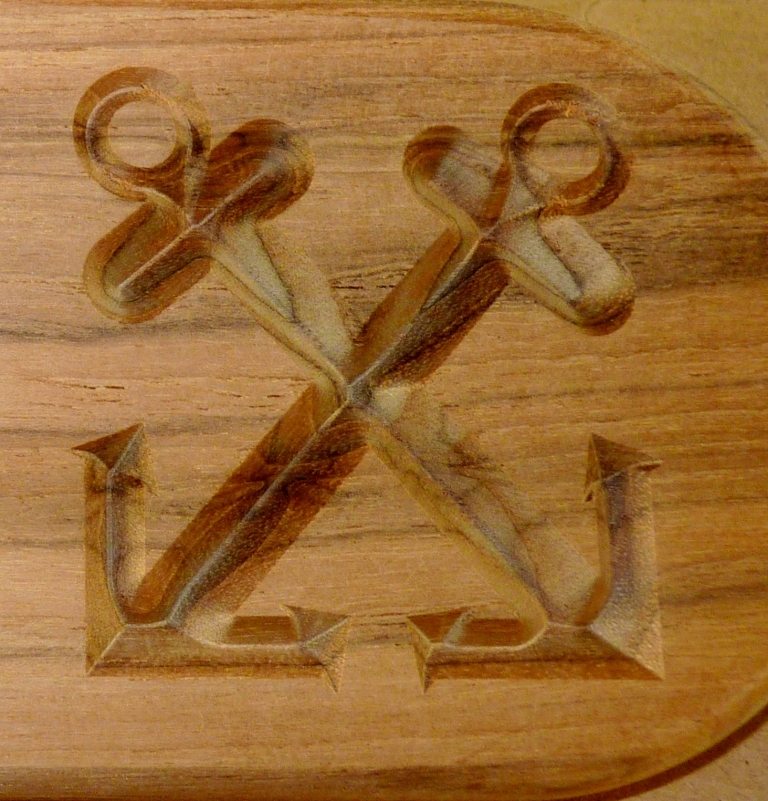
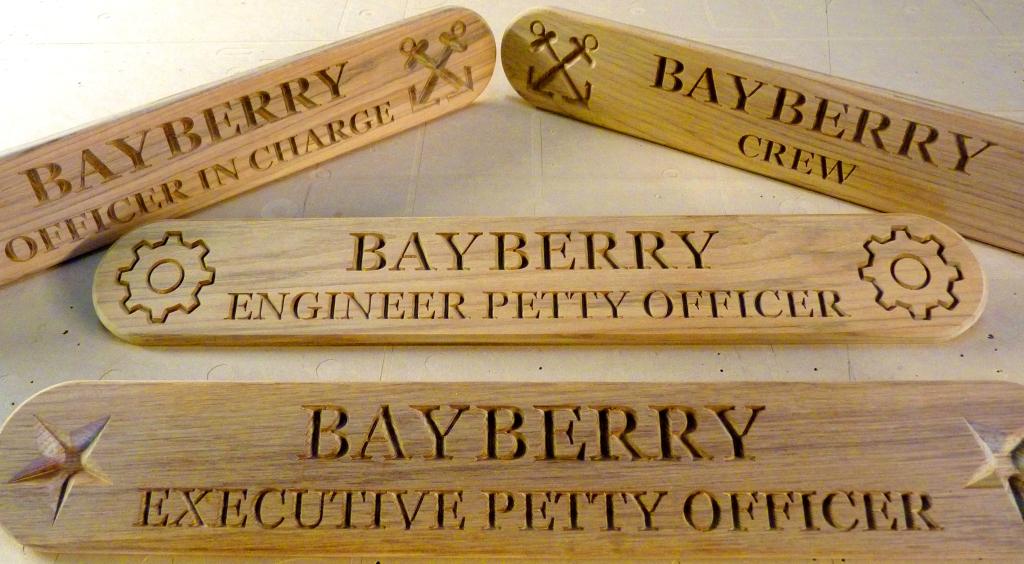
As you can see from the selection of custom designs shown here, size and complexity can vary greatly – and the more exactly you can specify your needs for us, the more closely we’ll be able to estimate your costs.
Request A Custom Name Board Price Quote
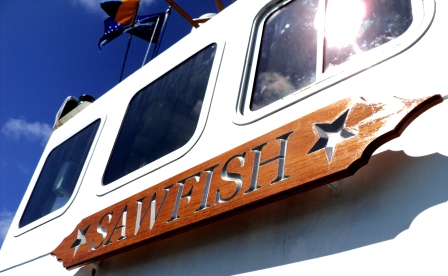
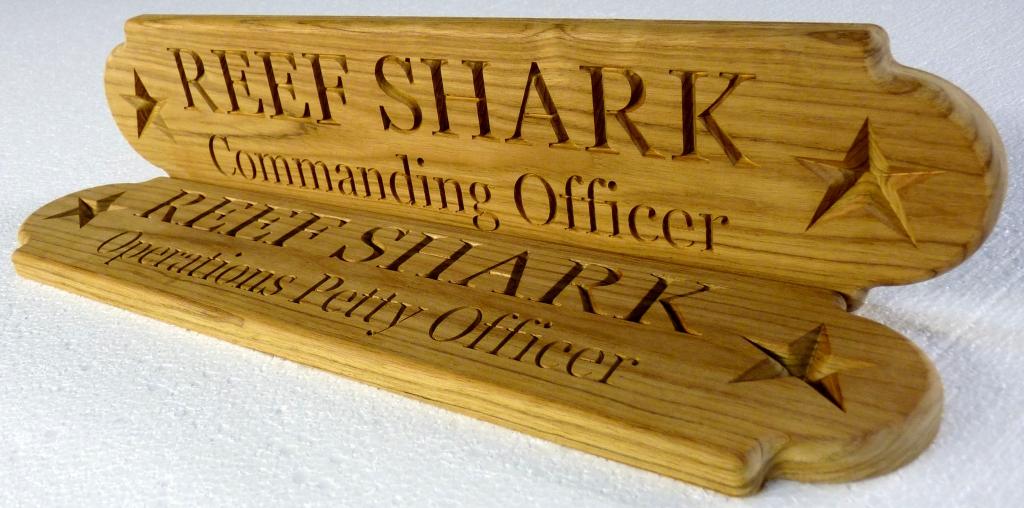
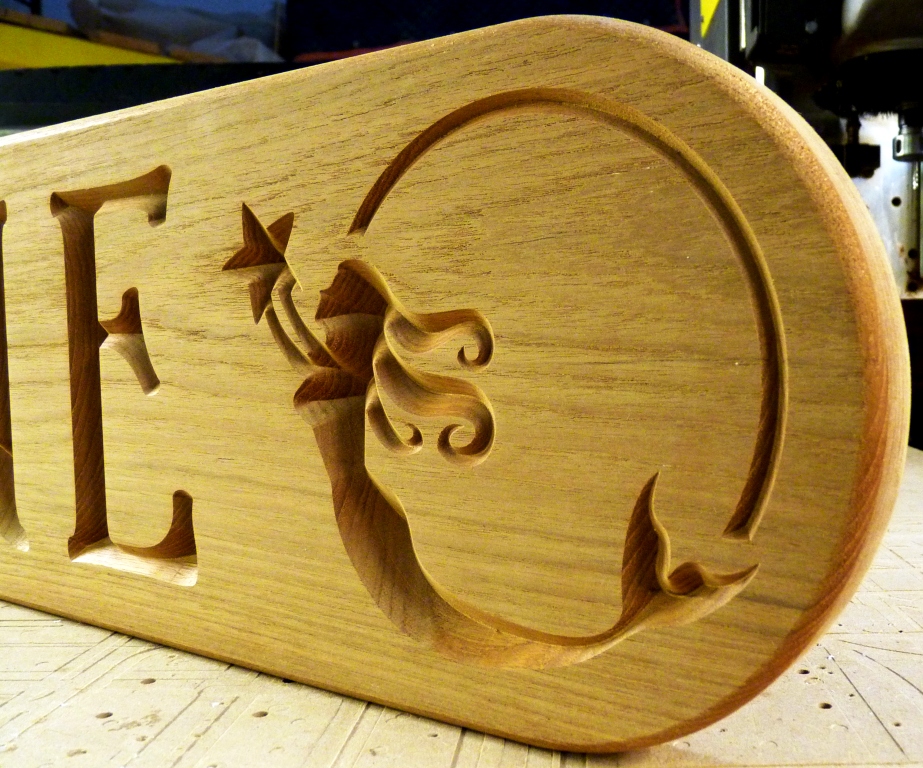
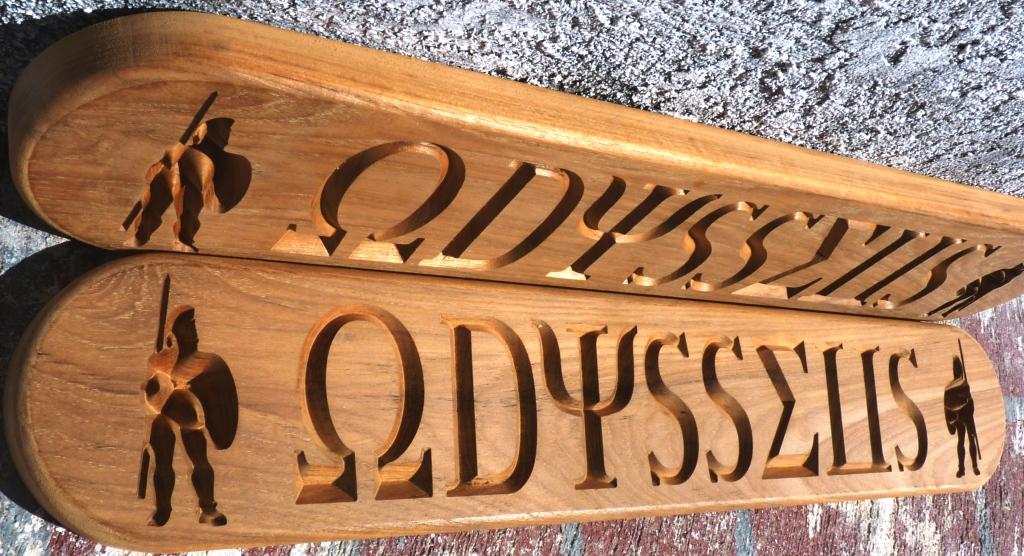
Custom Engraved Teak Nameboard Examples:
 |
 |
|||
 |
 |
|||
 |
 |
|||
 |
 |
|||
"We have returned from patrol...and found your boards waiting for us on the pier in Hawaii. They look great and we are very happy with the way they have turned out. My captain was extremely pleased. ... I'll be sure to recommend your business in the future."
Joe Restle, BMC
USCGC RUSH (WHEC 723) - Honolulu
 |
 |
|
 |
 |
|
 |
 |
Make Your Boat's Name Stand Out In Color
|
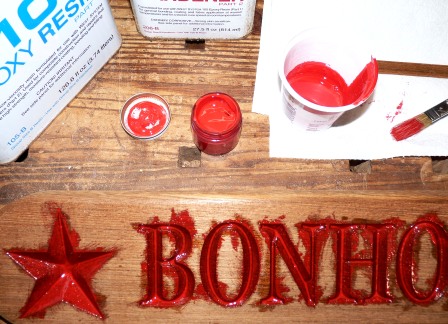
1. You could just apply paint to your boat's lettering, but I think color-tinted epoxy delivers a more durable result. Start by sealing your boat's lettering with clear epoxy and let it set. Then, mix the tinting agent into a batch of epoxy until you have the color intensity you want and simply brush the tinted epoxy onto your lettering. Apply 2 or 3 thin coats, 24 hours or more apart for each coat. Don't worry about getting epoxy where you don't want it -- it'll come off later. Coloring agents for epoxy resin are available from several online sources. |
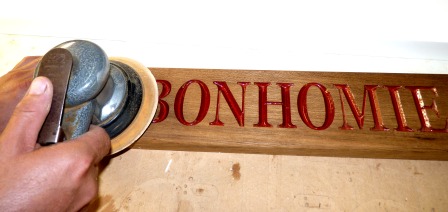
2. Once you have your letters colored in the way you want them and you've let the epoxy cure for a couple of days, use a random orbital sander to strip away any excess epoxy/coloring. Use #100 or #120 grit paper to start, then finish with #250 or #320 grit for a ready-to-varnish surface. |
|
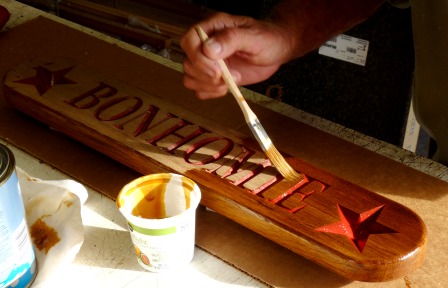
3. Now lay down your first coat of varnish, nice and thin to avoid having it build up in your engraved letters. As to the sort of varnish you choose, bear in mind that if your boards are going to live outdoors, they'll need the best UV protection you can give them -- and that's true also for the epoxy-based lettering. Around here we like a product called Sikkens. |
4. Let your varnish dry at least 24 hours between coats, and (I know, you already know this) don't apply varnish in direct sunlight or when it's going to rain any time soon. Lightly scuff the cured varnish between each coat with #400 wet/dry sandpaper. All told, you'll want at least four coats, and 6 or 8 would be better. |
|
5. Enjoy. If you're buying a single board as a gift or for displaying anywhere indoors, then you'll never have to worry about replenishing the board's finish over time. If you're installing a pair of boards on your vessel, it'd be a good idea to put a bit of space between the rear of the boards and your mounting surfaces, using nylon washers as shims or whatnot. This will keep varnish-damaging moisture from building up behind the board. |
|
Finished by customer Jaime Wray, 07/15
Letters colored with gold-leaf pen. Two coats varnish.

____________________________________________________
Finished by customer Bill Butler, 05/16
Letters colored with tinted epoxy. Anchors colored with Krylon gold-leaf pen.


